Dehydrated Broth
Dehydrated broth.
I will say right up front that dehydrated broth is not my favorite flavor wise. That would be pressure cooker broth. Nor do I suspect it is the absolute best for gut healing. That is probably meat broth and the resulting pate. Where dehydrated broth shines is in portability and shelf life. It does not need to be refrigerated. And 1 tsp of dehydrated broth (give or take) makes 1 cup of rehydrated broth! This is concentrated stuff! It is perfect for travel and also for emergency storage. I also love having it on hand for the occasions when I just have gotten behind and need some broth to throw in a dish. Putting in that much nutrition with such a small volume of substance is a real win/win.So now the basics. You will want to start out with a lot of unsalted broth. If you don’t know how to make broth start here Bone Broth. This lovely mess is the second run of the bones that I made the dehydrated broth from. I strain out the broth and add more water and let them go another 24-48 hours as long as the bones aren’t crumbly yet. I usually get 3 batches of broth (each one smaller than the one before) from beef bones.
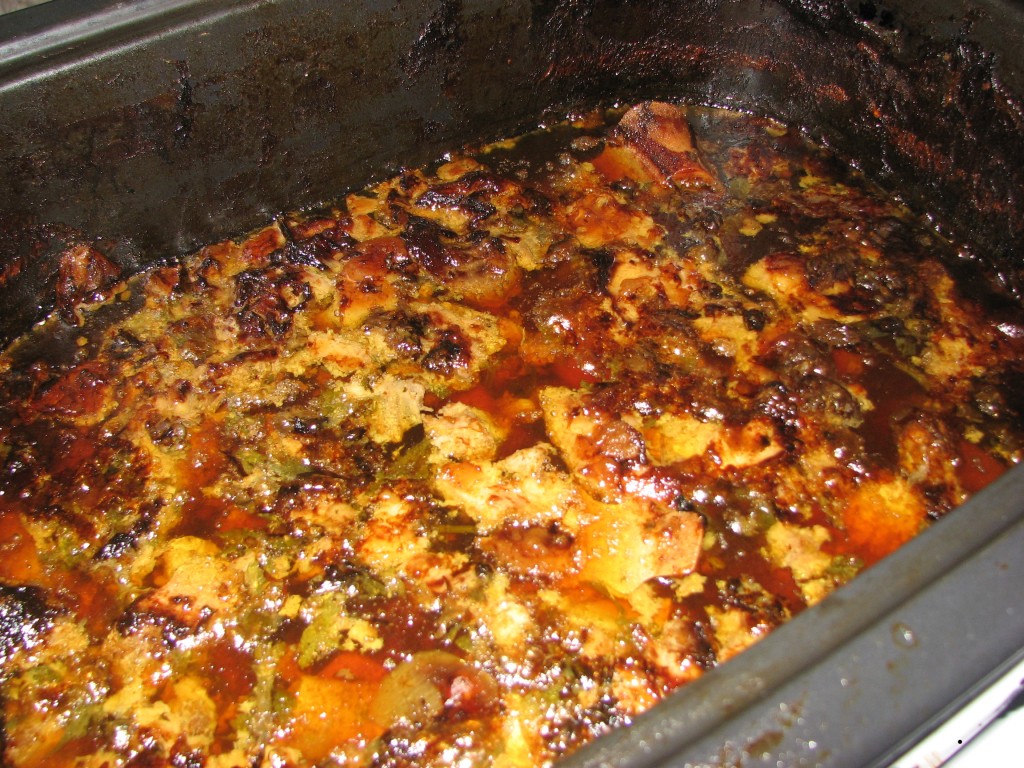
This time made meat broth in my 22-Quart Roaster Oven. I filled it up with meaty bones from my last half beef. When the meat was done I picked off the cooked meat and returned the bones to the pot. I continued to cook the bones in the broth overnight. It cooked about 24 hours total. Quite a bit of the moisture evaporated while it cooked and I did not replenish it because I intended to dehydrate it and wanted to get as much of that done the easy was as possible. After 24 hours I strained off the broth and ended up with about 4 qts of broth and fat. About three cups was fat between the two jars. (sorry I did not think to snap a photo of the jars. You will have to use your imagination.)
Once you have made your broth (make it with as little water as possible to make your job easier later on). Strain it and put it into a container in the fridge. You will want to remove the fat from this broth before dehydrating it and that is much easier to do if you chill it for several hours first.
After I had chilled my broth it was simple to scoop off the thick layer of fat on the surface of the dark broth. I was somewhat generous with my scooping. I wanted to get all of the fat out of the broth and I didn’t worry about getting a little bit of broth into the fat.
Next I poured the defatted broth into a large wide pot and began to boil it.
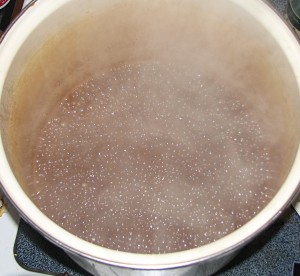
I kept an eye on it while it boiled watching for when it would turn thick so that I could be sure to stop it before it burned. I started out with a bit more than 3 qts of defatted very rich broth. This cooked down to less than 1 qt when I could see that the bubbles showed that it was getting much thicker. (photo above) I turned it off at this point and it quickly got a skin on the surface as it cooled. This was a good sign that it was ready to dehydrate. If it boils till it is too thick it will be difficult to spread thin to dehydrate and can quickly burn. Finding the sweet spot where it is quite thick but not so thick that it will burn or clump can be tricky so keep a close eye on it when it gets close. Below you can see it cooled off somewhat.
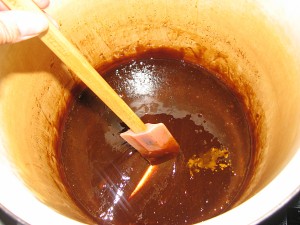
For dehydrating I use an Excalibur Dehydrator. I haven’t ever used any others so I can’t tell you how it compares for this process.
Once it had cooled enough to handle it I poured it out onto two Excalibur ParaFlexx Non-Stick Sheets. I spread it as thin as I could and set the Excalibur Food Dehydrator to the highest temperature. The thinner it is the easier it will be to grind it into a powder once dry. It will also dry out much faster.
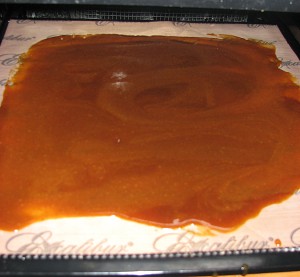
I was able to spread it about 1/8 of an inch thick. It took 2 trays for that much broth (so about 2 cups per tray). It took nearly 3 days for it to be fully dehydrated. I probably should have tried to spread it even thinner on more trays.
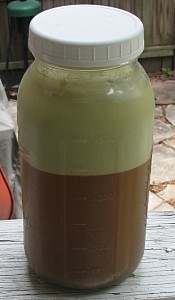
Meanwhile, I added about a qt of water to the pot that I had just removed the broth from as well as the fat I had removed before cooking down the defatted broth. I brought it to a boil and used the rubber spatula to scrape down all of the broth that was still stuck to the sides and bottom of the pan. Once I had it all mixed in I could see that it was good rich broth. I poured that into a 2 qt jar and you see what I got here. I just couldn’t bear the thought of wasting any of that broth that I had worked so hard to make just because it was stuck to the pot.
Back to the dehydrator. After 24 hours or so I lifted the drying broth. It was like sticky fruit leather and stuck to theParaFlexx Sheet when I tried to lift it off. I was able to pry it off and flip it over to expose the underside and help it dry faster. This step isn’t necessary but it should speed up the dehydrating. Every 24 hours or so I would flip it to help the drying. I also felt the center. The edges got hard and brittle first but as long as the center was still flexible like fruit leather I knew I had longer to go. You want the whole thing to be hard and brittle. Some have found that they or their children enjoy “broth leather” and certainly you can stop at this point and use it in the manner. Since this broth leather will include some moisture it will not be shelf stable and should be kept in the fridge or freezer to keep it from spoiling. Here is the broth partially dehydrated with a small piece snapped from the brittle edge but still very flexible in the center.
Once it is brittle all the way across you can turn off the dehydrator and let it cool. At this point my 4 year old requested a taste of the brittle dried broth. I agreed to let her taste some and decided to eat some myself so I broke off small pieces. Remember that as far as nutrition goes about 1 tsp of dehydrated broth is the same as a cup of broth. She loved the crunchy treat and asked for more after she finished the first piece. In fact I had to cut her of for fear she would eat more than I could spare. Her sister also tasted some. She wasn’t quite so thrilled with it until I pointed out that the small piece she was holding would count as a cup of broth. Then she easily crunched it down finding it much easier to consume than a cup of hot broth (despite 2.5 years of GAPS and occasionally loving it, most of the time broth is still her nemesis.) I had to set aside the broth till the next day before I could process it further and my 4 year old kept going back asking for more and more pieces of it. I will say that it is delightfully crunchy and it sticks to your teeth a bit like hard candy will if you chew it up. The flavor is very savory and despite not having any salt at all, not bland or unpleasant.
Once it is dry you can then pulverize it into a powder to make “instant broth”. I broke the broth into pieces small enough to fit into my Vitamix and saved back about 1/4 of them for my children to eat as is. (It is the easiest way by far to get broth into each of them!) I then started the Vitamix and was very impressed with how quickly and easily it converted that hard broth into powder. Last fall I made dehydrated broth and I think that I did not dehydrate it quite long enough to get truly hard and brittle all the way through. I also tried to process it in my Hamilton Beach Food Processor and I wasn’t ever able to get many of the thicker chunks to pulverize. That is ok and it works but it takes a lot longer to dissolve those bigger chunks when re-hydrating the broth than if it is in a fine powder. Use whatever machine you have or even simply break up the pieces as best you can by hand or with a mortar and pestle. Just expect to spend a bit more time dissolving it when the time comes to re-hydrate.


No comments:
Post a Comment